Elemento
Elemento is a simple, beautifully designed responsive multipurpose drag and drop WordPress theme. This is elementor page builder support theme, this theme can be easily customized to make business, corporate, yoga, blog, construction, education, portfolio, travel and tour, news, beauty, fitness and many more websites. We support via online chat, email, and support forum.
“Need Help with installation” or new to wordpress. Our PRO version includes unlimited support while you build your site.
Installation
You can install theme either with Admin Panel or using FTP clients like FileZilla.
Using Admin dashboard
- Log in to the WordPress Administration Panels.
- Go to Appearance -> Themes.
- Select Add New.
- Then select Upload Theme.
- Click Browse and locate elemento.zip Theme in your computer.
- Select elemento.zip and click Install Now.
Using FTP
- Unzip elemento.zip to your Desktop.
- Using an FTP client to access your host web server, go to /wp-content/themes/ and upload your new copy of Elemento Theme.
- Now, log into the WordPress Dashboard with your login details.
- Select the Appearance panel, then Themes.
- You will see the theme in the list.
- Then click Activate button.
- Now the theme will be activate and go through the following options to set up the theme step wise.
Activation
After successfully installing the elemento theme, you need to activate your theme. Follow given steps to activate the theme.
- Select the Appearance panel, then Themes.
- You will see the elemento theme in the list.
- Click Activate button.
- After clicking in activate button the theme will be activate.
Home Page Setup
To set a static front page we need to have a page which can be set as static front page. If you already have page then that’s fine otherwise follow the steps
- Hover over the Pages menu.
- You will see Add New under All Pages
- Click Add New
- You will be redirected to new page from.
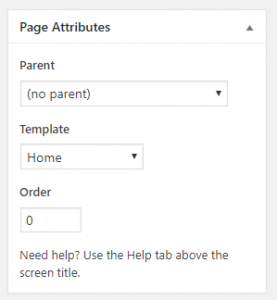
- Add title Home or any title you want.
- Select Template as Home
- Click publish.
Home Page Setting
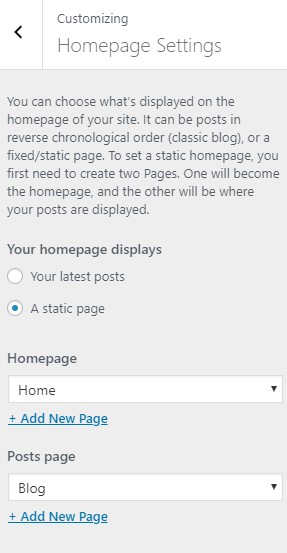
1.From Customize section, go to Homepage Settings .
2.From Homepage Settings, You will be able to set any page as A Static page and you will find Your Latest Posts page option as well.
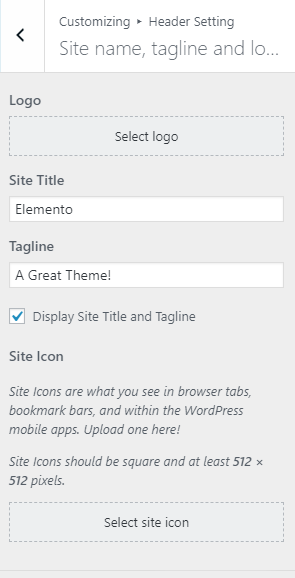
Logo & Site Title
Go to Appearance > Customize > Header Setting >Site name , tagline & Logo.
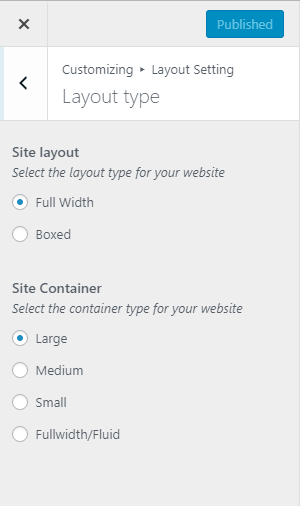
Layout Settings
Go to Appearance > Customize >Layout Setting > Layout type
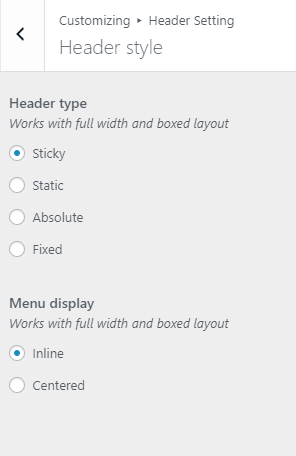
Header Settings
Go to Appearance > Customize >Header Settings
Site Info Settings
Header Style
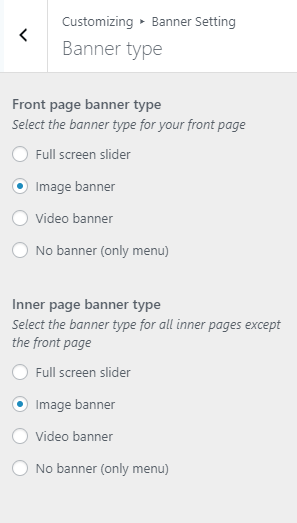
Banner Settings
Go to Appearance > Customize >Banner Settings
Banner Type
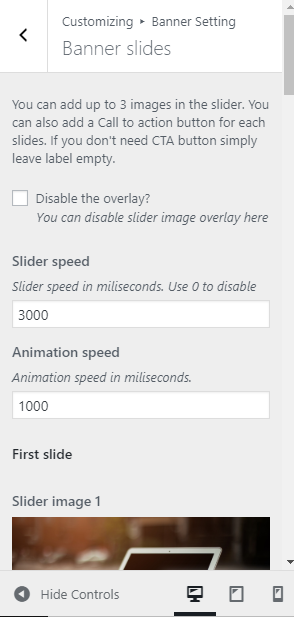
Banner Slides
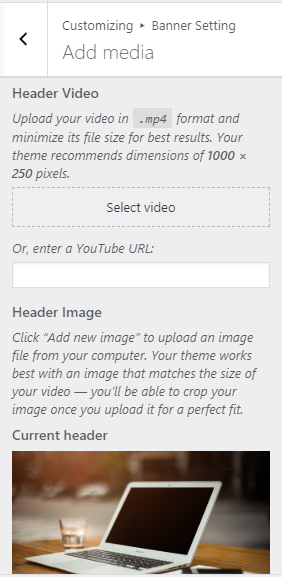
Banner Media
Sidebar Settings
Go to Appearance > Customize > Sidebar Settings
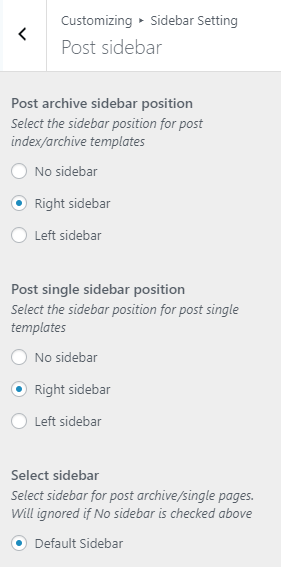
Post sidebar
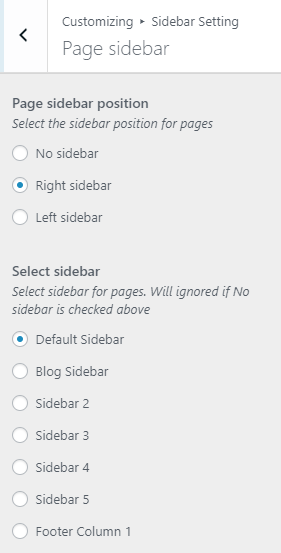
Page sidebar
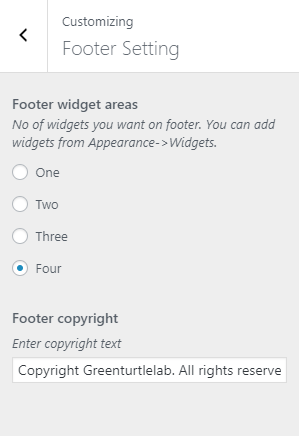
Footer Settings
Go to Appearance > Customize >Footer Settings
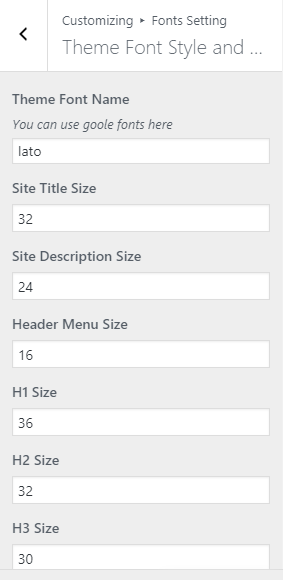
Fonts Settings
Go to Appearance > Customize >Fonts Settings
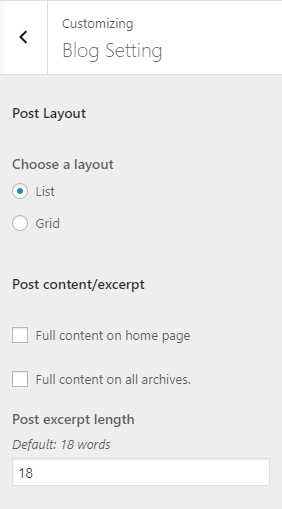
Blog Settings
Go to Appearance > Customize > Blog Settings
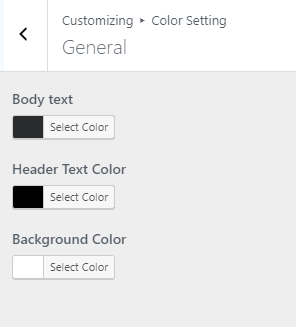
Color Settings
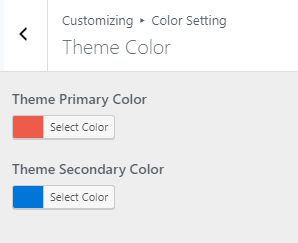
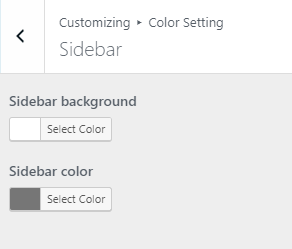
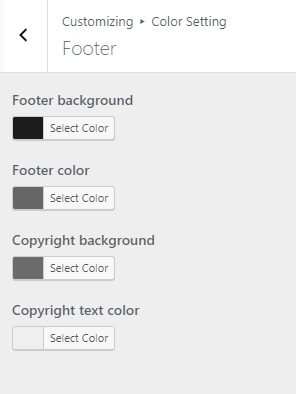
Go to Appearance > Customize >Color Settings
General Color Settings
Theme Color
Sidebar Color
Footer Color
Importing Demo content
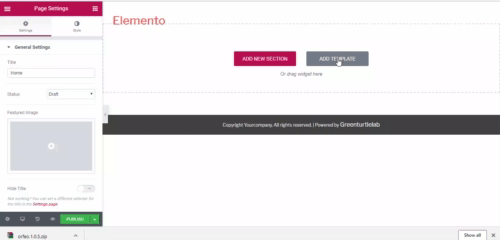
- Edit the page with the elementor.
- Click on the ‘Add template’ button to launch the Template Library and insert one of the Elementor pre-designed templates.
- Hover the template you want import and hit “Insert” button (PRO templates are included in the Elementor PRO plugin only). This will import whole template design (with images).
- Go to setting icon , which is is left bottom of elementor dashboard of live editor , Select page layout as Elementor fullwidth and click publish button.